This post may contain affiliate links and ads. Read our disclosure policy here.

Fun Summer Dessert
Going to the beach for a few days and want to pull off a ridiculously easy dessert one night?
Need a fun dessert to take to a potluck bbq that looks impressive AND is easy to transport?
Just want to bust some summer boredom with a tasty treat?
Look no further.
My friend Sara kept talking about this “Sand Cake” that she makes. I was totally intrigued and when she sent me a picture of the one she made, I knew I had to attempt it for Lily. The truth is, there is no attempting required – it’s so easy to make it’s really almost impossible to mess up. REALLY.
No Bake Sand Cake
Equipment
- 1 sand bucket with shovel new, washed
- 1 food processor
Ingredients
- 1 package Golden OREO Cookies
- 1 SINGLE chocolate OREO Cookie JUST ONE COOKIE!
- 8 oz cream cheese
- 1 stick butter
- 1 cup confectioner's sugar
- 1 tsp vanilla extract
- 3 cups milk
- 2 boxes instant vanilla pudding 3.4 oz boxes
- 8 oz cool whip thawed
Instructions
- Use a food processor to crush the cookies. If you want all golden sand, use only the Golden Oreos. If you want your sand to have a hint of black to it, use 1 (AND ONLY 1) regular chocolate Oreo. This is the "sand." Set aside.

- Beat the following ingredients in a bowl until light and fluffy: cream cheese, butter, confectioner sugar, vanilla. Set bowl aside.

- Whisk the milk and pudding for 2 minutes.

- Fold Cool Whip into pudding.

- Fold pudding mixture into the cream cheese mixture. Now you’re ready to fill your bucket!

- Starting with a layer of crushed cookies, layer your two ingredients (sand, pudding, sand, pudding and so on) until you get to the top of the bucket. Top the final layer of pudding with the rest of your cookies.

- Refrigerate this dessert until you are about to serve it.

- Just before serving, stick the shovel in the top (and use it as the serving utensil!).

No Bake Sand Castle Cake in a Bucket
I wrote this post years before the “recipe widget” was even an option for blog posts. I just added the widget to this post to provide a clean, printable version of the post. However, I am going to leave the original post below because I have so many more process pictures than will fit on the recipe card!
You will need:
- New plastic bucket with shovel (we got ours at Dollar Tree and picked a translucent one so that you can see the cake layers inside!) Wash bucket before using!
- 1 package of Golden Oreo Cookies
- 1 single chocolate Oreo Cookie (NOT 1 pack, 1 COOKIE, NO MORE than 1 cookie!)
- 8 oz (1 package) cream cheese
- 1 stick of butter
- 1 cup of confectioner sugar
- 1 tsp vanilla extract
- 3 cups milk
- 2 boxes of instant vanilla pudding (3.4 oz boxes)
- 1 container of cool whip (thawed)

How to make:
Use a food processor to crush the cookies. If you want all golden sand, use only the Golden Oreos. If you want your sand to have a hint of black to it, use 1 (AND ONLY 1) regular chocolate Oreo. Trust me, that one Oreo goes farther than you’d believe. 1 package of Golden Oreos to 1 single chocolate Oreo cookie is a good ratio.
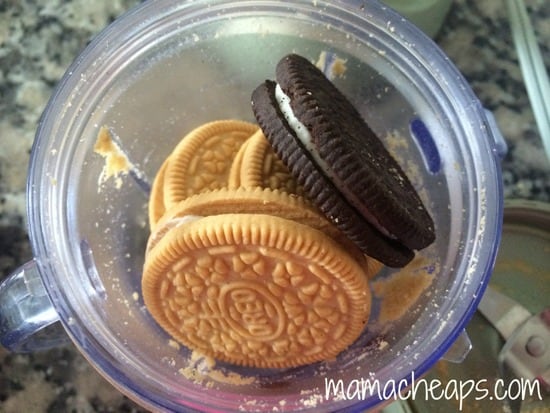
I was too lazy to dig out the food processor, so I grabbed the Baby Bullet off the counter and used that. :)

Sand! (Mine had some bigger chunks of icing from the cookies. I left them that way to give it some texture. Feel free to do the same or completely pulverize your cookies!)
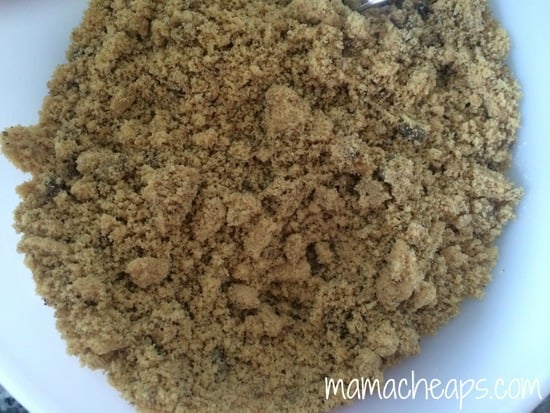
Set sand aside.
Beat the following ingredients in a bowl until light and fluffy: cream cheese, butter, confectioner sugar, vanilla.

Set this bowl aside.
Whisk the milk and pudding for 2 minutes.
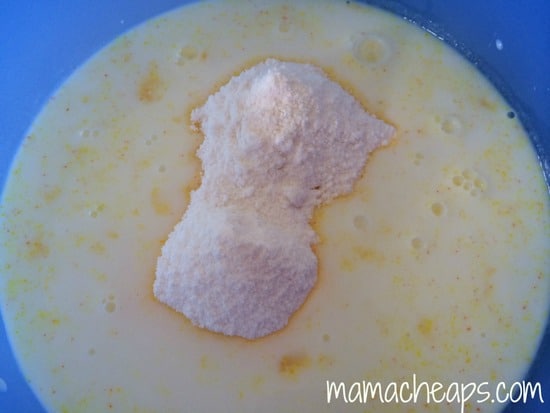
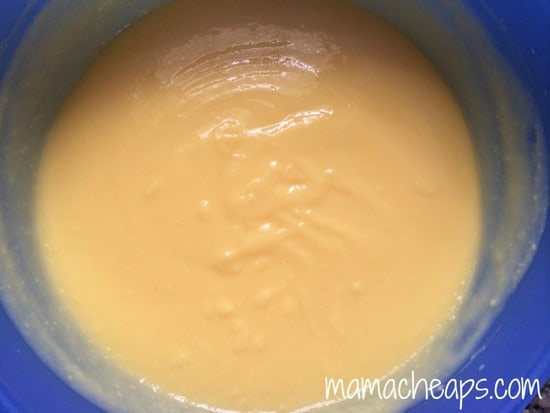
Fold Cool Whip into pudding.
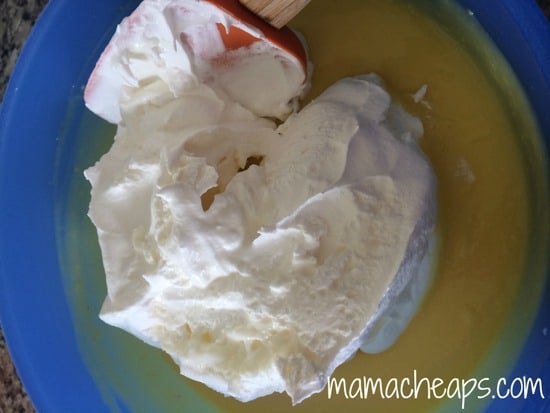
Fold pudding mixture into the cream cheese mixture.
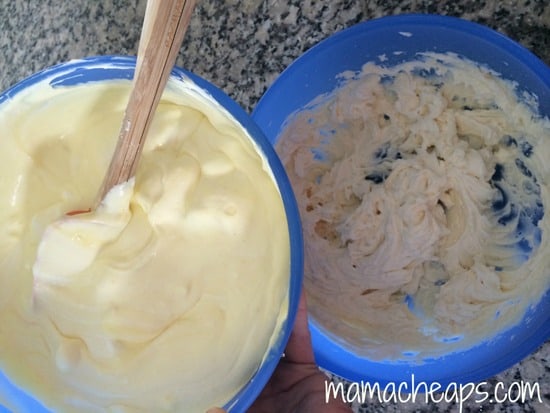

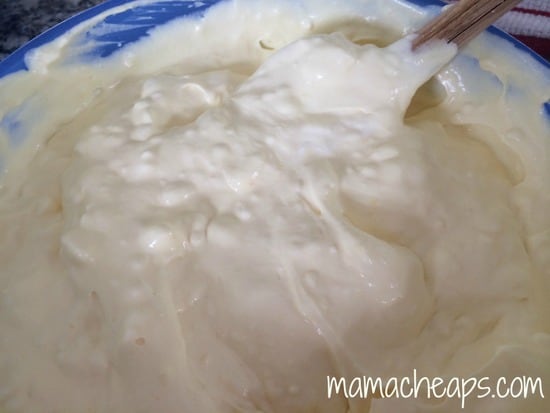
Now you’re ready to fill your bucket!
Starting with a layer of crushed cookies, layer your two ingredients (sand, pudding, sand, pudding and so on) until you get to the top of the bucket. Top the final layer of pudding with the rest of your cookies.


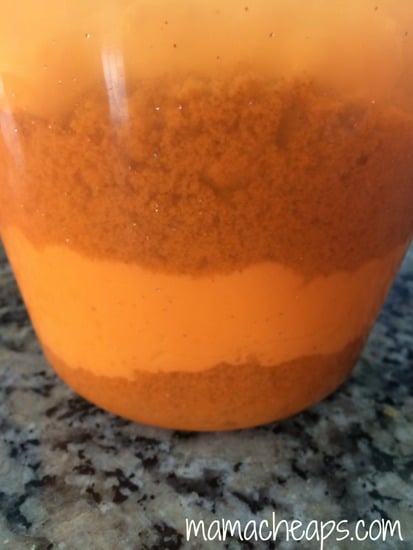
Refrigerate this dessert until you are about to serve it.
Just before serving, stick the shovel in the top (and use it as the serving utensil!).
Yeah!!!
p.s. Lily came into the kitchen just as I was taking the finished pictures. Her exact words, “MOM! Now that is BRILLIANT!” Indeed.


Thank you for the recipe inspiration. I changed it a little to make it gluten free and used homemade whipped cream in place of the Cool Whip – it was a hit! We had a family beach trip this year and everyone from 9 to 75 years old said it was delicious. :)
That’s awesome, Amy! Thank you so much for sharing. Sounds like it was a great variation on the original and I’m glad everyone enjoyed it!
How far in advance have you made this recipe? Making it for the second time but would love to do it ahead of time this time around!
I have made this the day before parties before and it was still good to go the next day! Plus, we usually eat the leftovers for 2-3 days after initially serving it and it had held up well!
Is there a way to print it that doesn’t take the 20 pages it says it’s on?
It looks so yummy I want to make it for my grandkids!
Hi there! YES – I just updated this post with a printable recipe card!! I posted this recipe many years ago, before the recipe card widgets were available. I have added the recipe cards to most of my older recipe posts, but still find ones that I missed now and then! Thanks so much for the head’s up. Have fun with this recipe – it’s a family favorite over here!
Made this last year for my daughter’s JAWS themed birthday party and making it again for her JAWS party this year. Gotta love a consistent theme and a great birthday “cake”. Easy recipe, impressive and delicious results. Even the adults at the party liked it.
Oh I LOVE that!! What a fun party theme – glad to hear that the “cake” was enjoyed by all!!